
This guide walks you through using the UniFi Access mobile app to create a user profile, assign door permissions, and instantly link an NFC card or PIN code using your phone.
1. Open the UniFi Access Control App
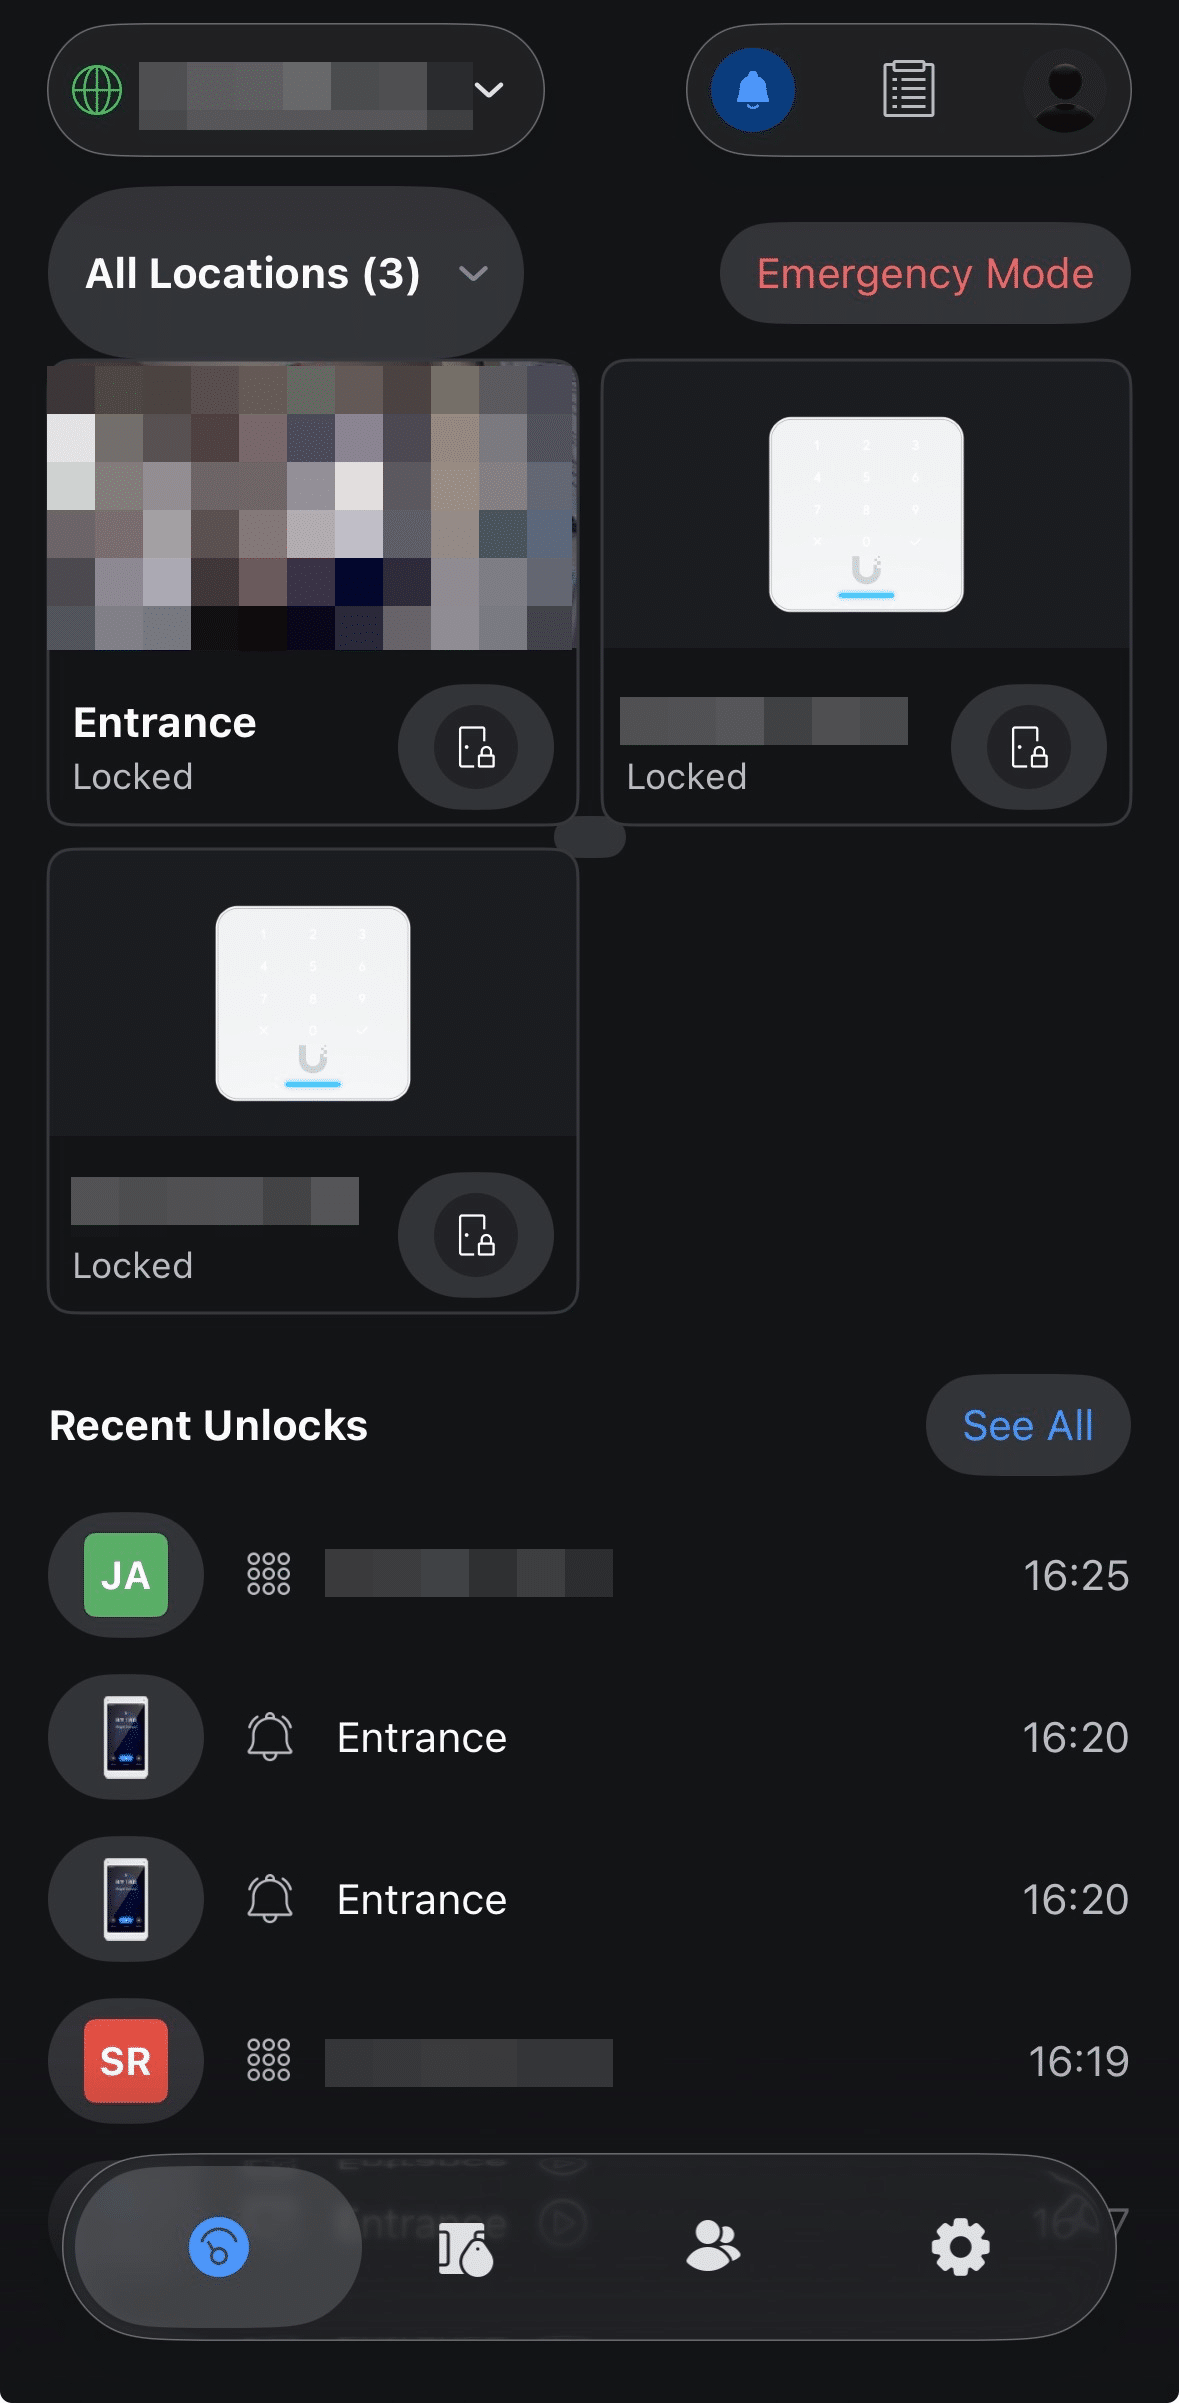
Log into the UniFi Access app with an Admin or Owner account.
2. Open the User/People Directory
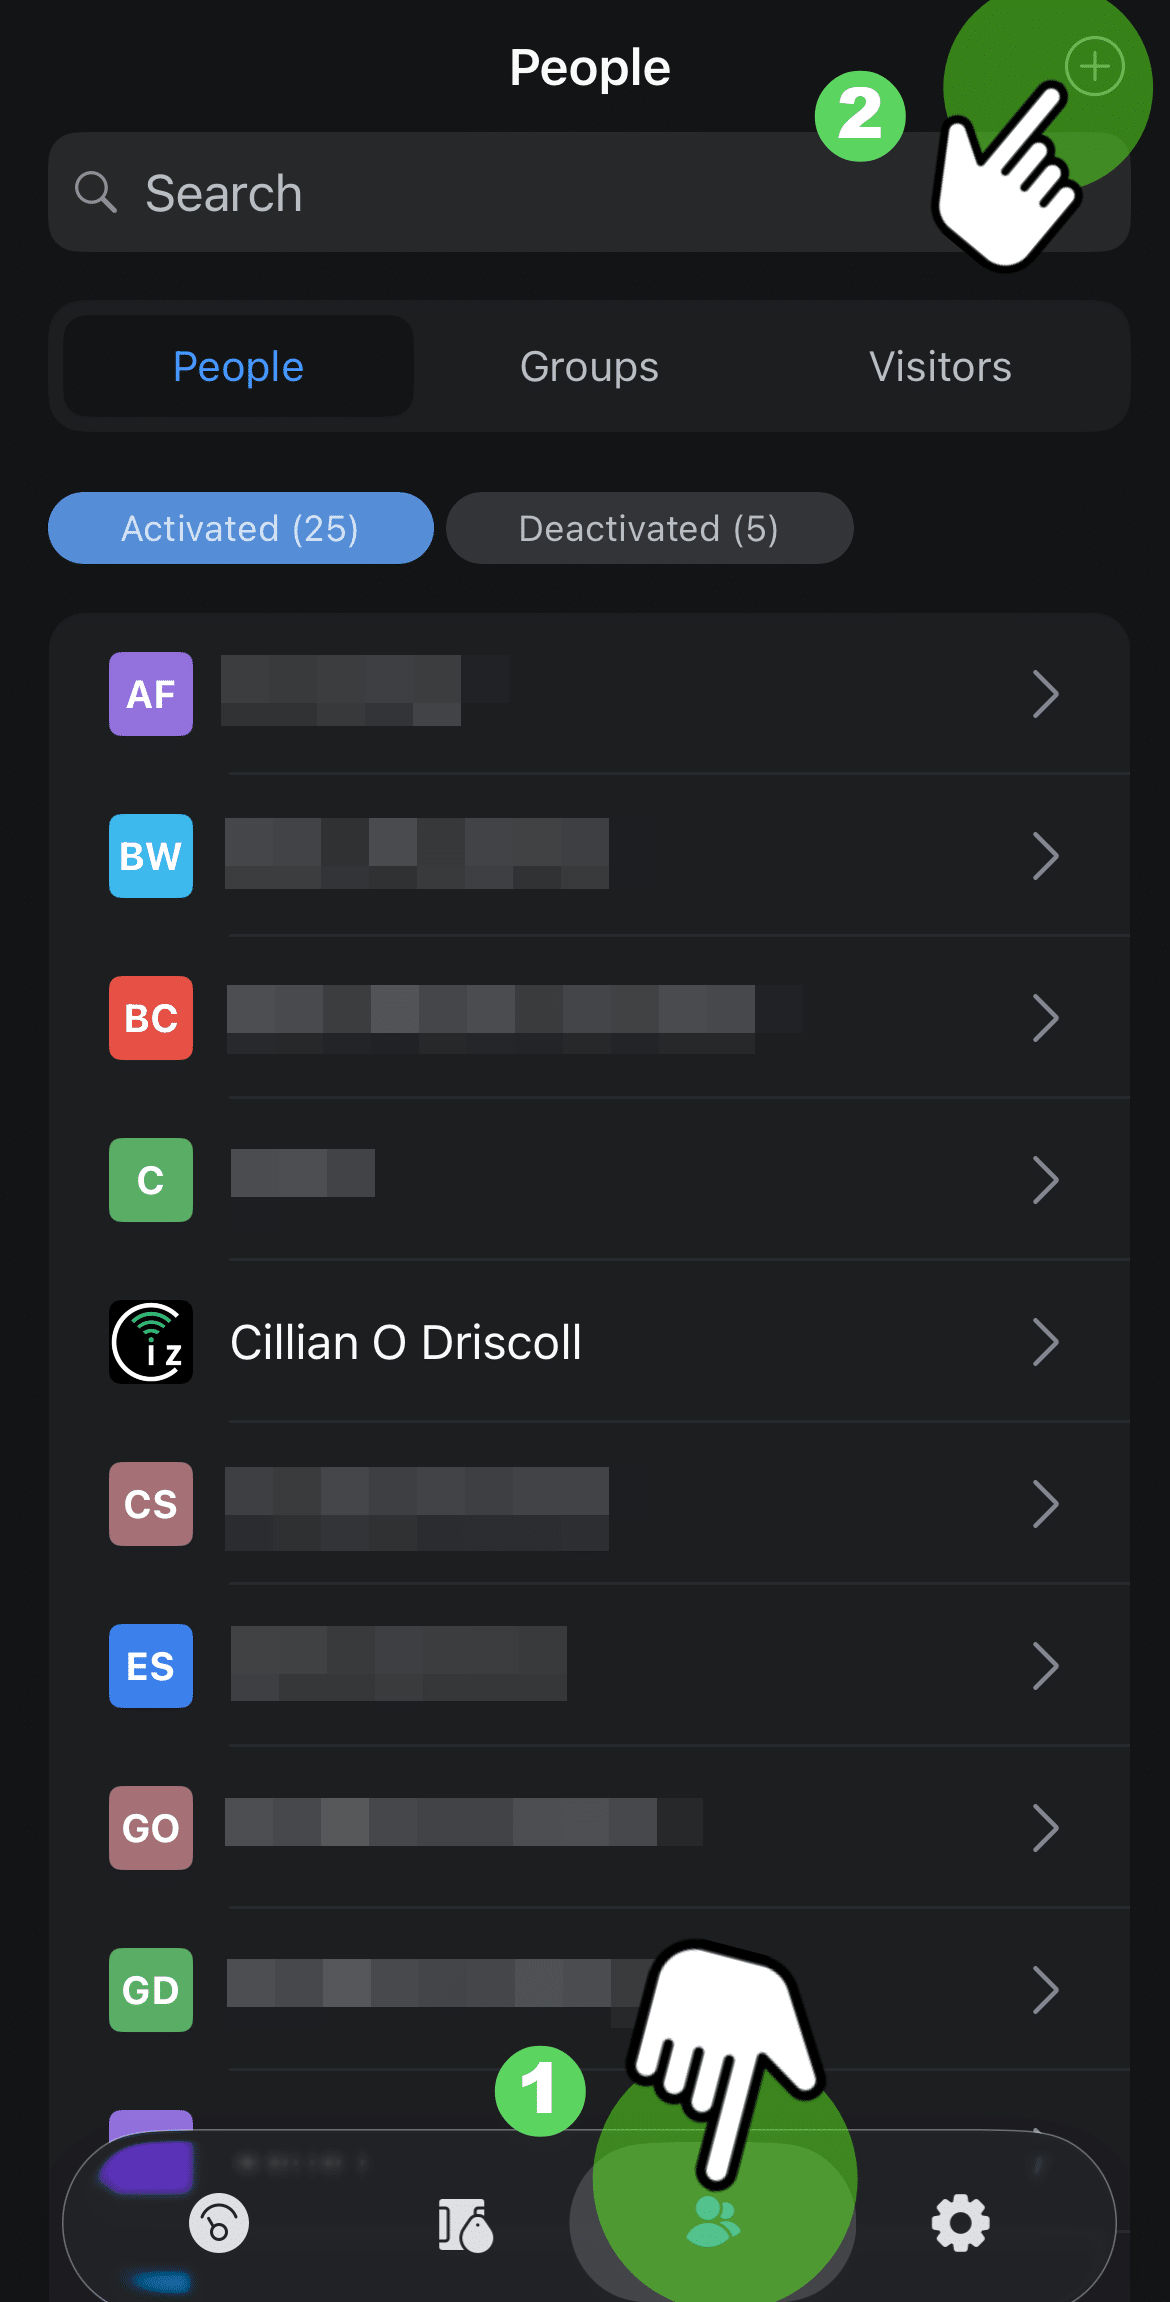
- Tap the Users/People tab (the silhouette icon) in the bottom navigation bar.
- Tap the Add User button (or the + icon)
3. Choose User Type
Note on User Types
Adding new Groups and Visitors are 'advanced' features. Ciz ICT would typically configure these during setup/upon request. This guide will focus on the process for 'Creating a New Person'.
After you have elected to add a user, you will get 3 options.
1. Create New Person
- What it is: This is for your standard, permanent, or long-term users.
- When to use it: Use this for full-time or part-time employees, long-term contractors, or anyone who needs regular, ongoing access to the building.
- Key feature: They get a permanent profile, can be assigned to departments, can use the UniFi Identity mobile app on their phone, and their credentials don't expire unless an admin manually deactivates them.
2. Create New Group [Advanced]
- What it is: This doesn't actually create an individual person; it creates a container or "department" folder.
- When to use it: Use this when you want to group users together to manage them easily (e.g., creating a "Marketing Team," "Night Shift," or "HR" group).
- Advanced: Contact Ciz ICT if you require a New Group.
3. Create New Visitor [Advanced]
- What it is: This is for temporary, time-restricted guests.
- When to use it: Use this for maintenance workers, delivery drivers, clients visiting for the day, or short-term contractors.
- Advanced: Contact Ciz ICT if you require a New Visitor.
For the purpose of this article, we shall focus on creating a New Person rather than groups/visitors.
4. Enter Basic Profile Details
Note on required fields
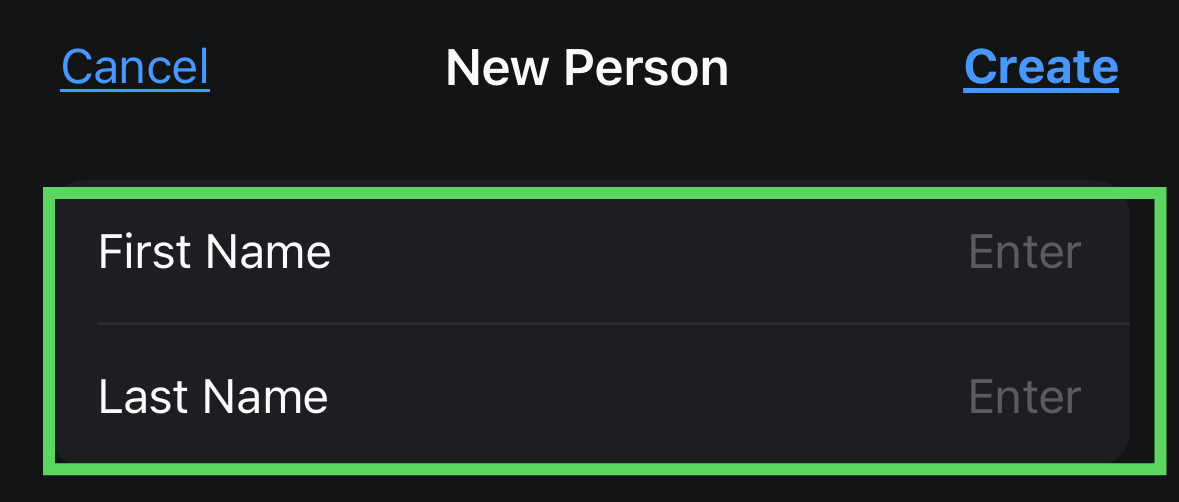
Just the Name is a required field when setting up a New Person.
In this article, we shall go through adding a New Person:
Required fields:
- First & Last Name: Type the first and last name of the person.
Optional fields:
Not required for the setup of a New Person.
- Email Address: Enter their primary email. (Note: This is required if you want the user to use their smartphone as a digital key).
- Employee ID: you can input the unique ID assigned to an employee. This field is primarily used for record-keeping and sorting.
- Onboard Date: This lets you log the official date the person joins the company or team.
- Group: Tap to assign them to a pre-configured department or group to automatically inherit bulk door rules. Ciz ICT pre-configure a default group. If you require a new group, contact Ciz ICT.
5. Configure the Credentials Section
Typical Setup
The 'usual' or typical setup involves using the NFC card/fob as the main access method with the PIN being a backup access method.
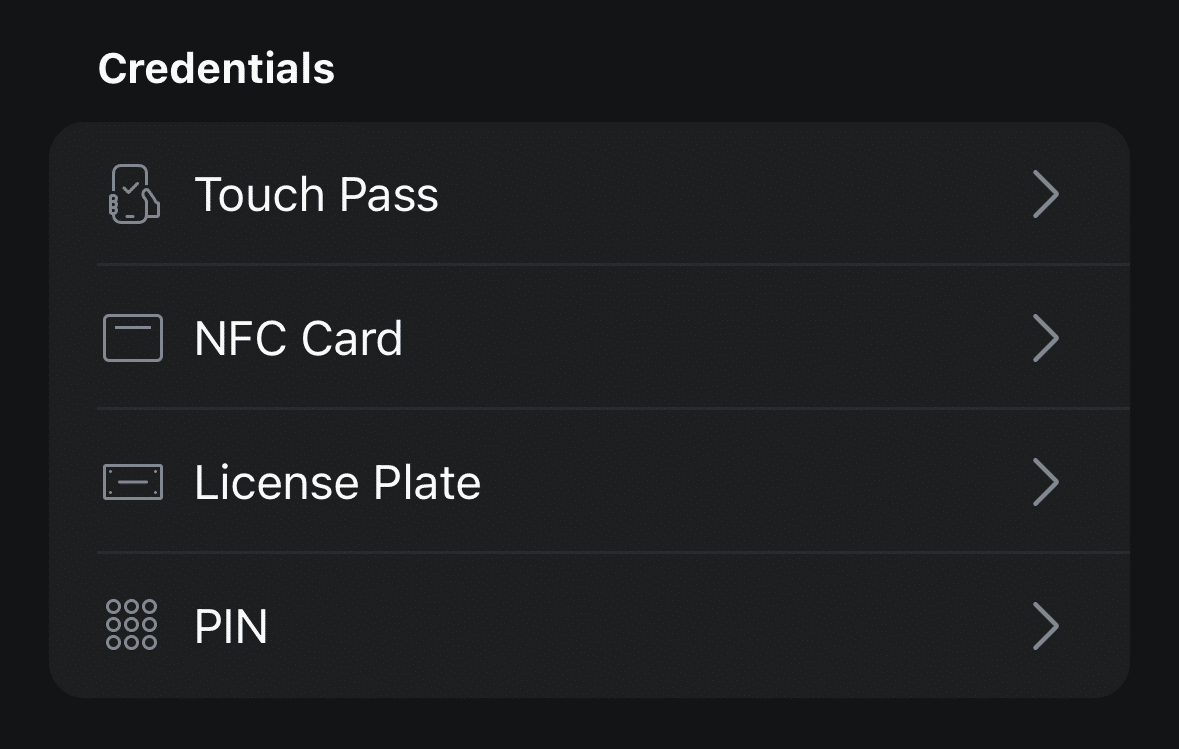
Scroll down to the Credentials section to choose how this person will physically unlock doors. You can configure any combination of the following four options:
Typical/Usual Setup:
- NFC Card: Typically, the primary access method. Tap this to link a physical keycard or fob. Select a nearby active door reader from the mobile app's dropdown list, walk over to that reader, and tap a blank UniFi card to register it.
- PIN: Typically, the back-up access method to NFC cards. Tap this to assign a keypad code. You can manually enter a code of the employee’s choice or tap Generate to let the system randomise a secure number.
Advanced/Optional:
These options are available but it is advisable to consult with Ciz ICT.
- Touch Pass (Smartphone Key): Toggle this to On to give the user mobile access. Generally not part of a typical setup. May be subscription-based above a certain number of users.
- License Plate: Generally not applicable unless a system is in place to read/log license plate data.
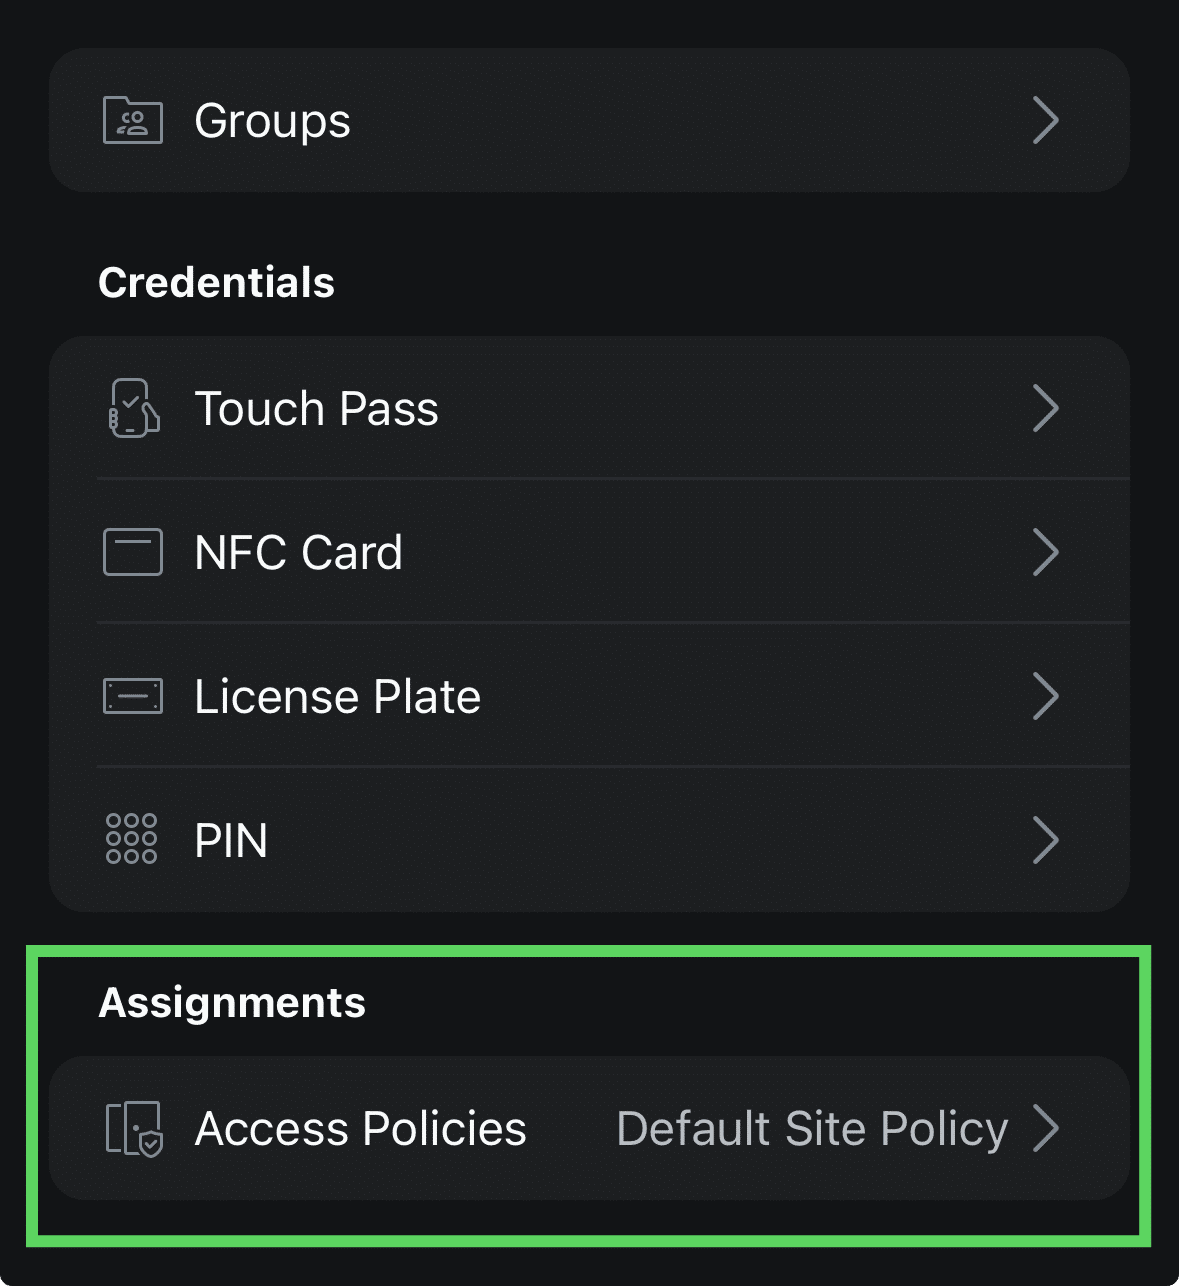
6. Set Access Permissions (Policies & Schedules)
Before setting up their physical keys, tell the app where they are allowed to go.
- Scroll down to the Access Policy section.
- Select the Default Site Policy that has been created by Ciz ICT.
- If you require a new Policy, contact Ciz ICT Support.
7. Advanced Features
Note on Advanced Features:
It is recommended to contact Ciz ICT before changing any of the settings noted below.
Groups:
- What it is: A container or "department" folder.
- When to use it: to be used to group users together to manage them easily (e.g., creating a "Marketing Team," "Night Shift," or "HR" group).
Visitors:
- What it is: This is for temporary, time-restricted guests.
- When to use it: Use this for maintenance workers, delivery drivers, clients visiting for the day, or short-term contractors.
Policies & Schedules:
- What it is: Policies are the rules that dictate exactly where a user can go and when they can go there.
- When to use it: to be used to group users together to manage them easily (e.g., creating a "Marketing Team," "Night Shift," or "HR" group).
Touch Pass (Smartphone Key):
Toggle this to On to give the user mobile access. Generally not part of a typical setup. May be subscription-based above a certain number of users.
License Plate:
Generally not applicable unless a system is in place to read/log license plate data.