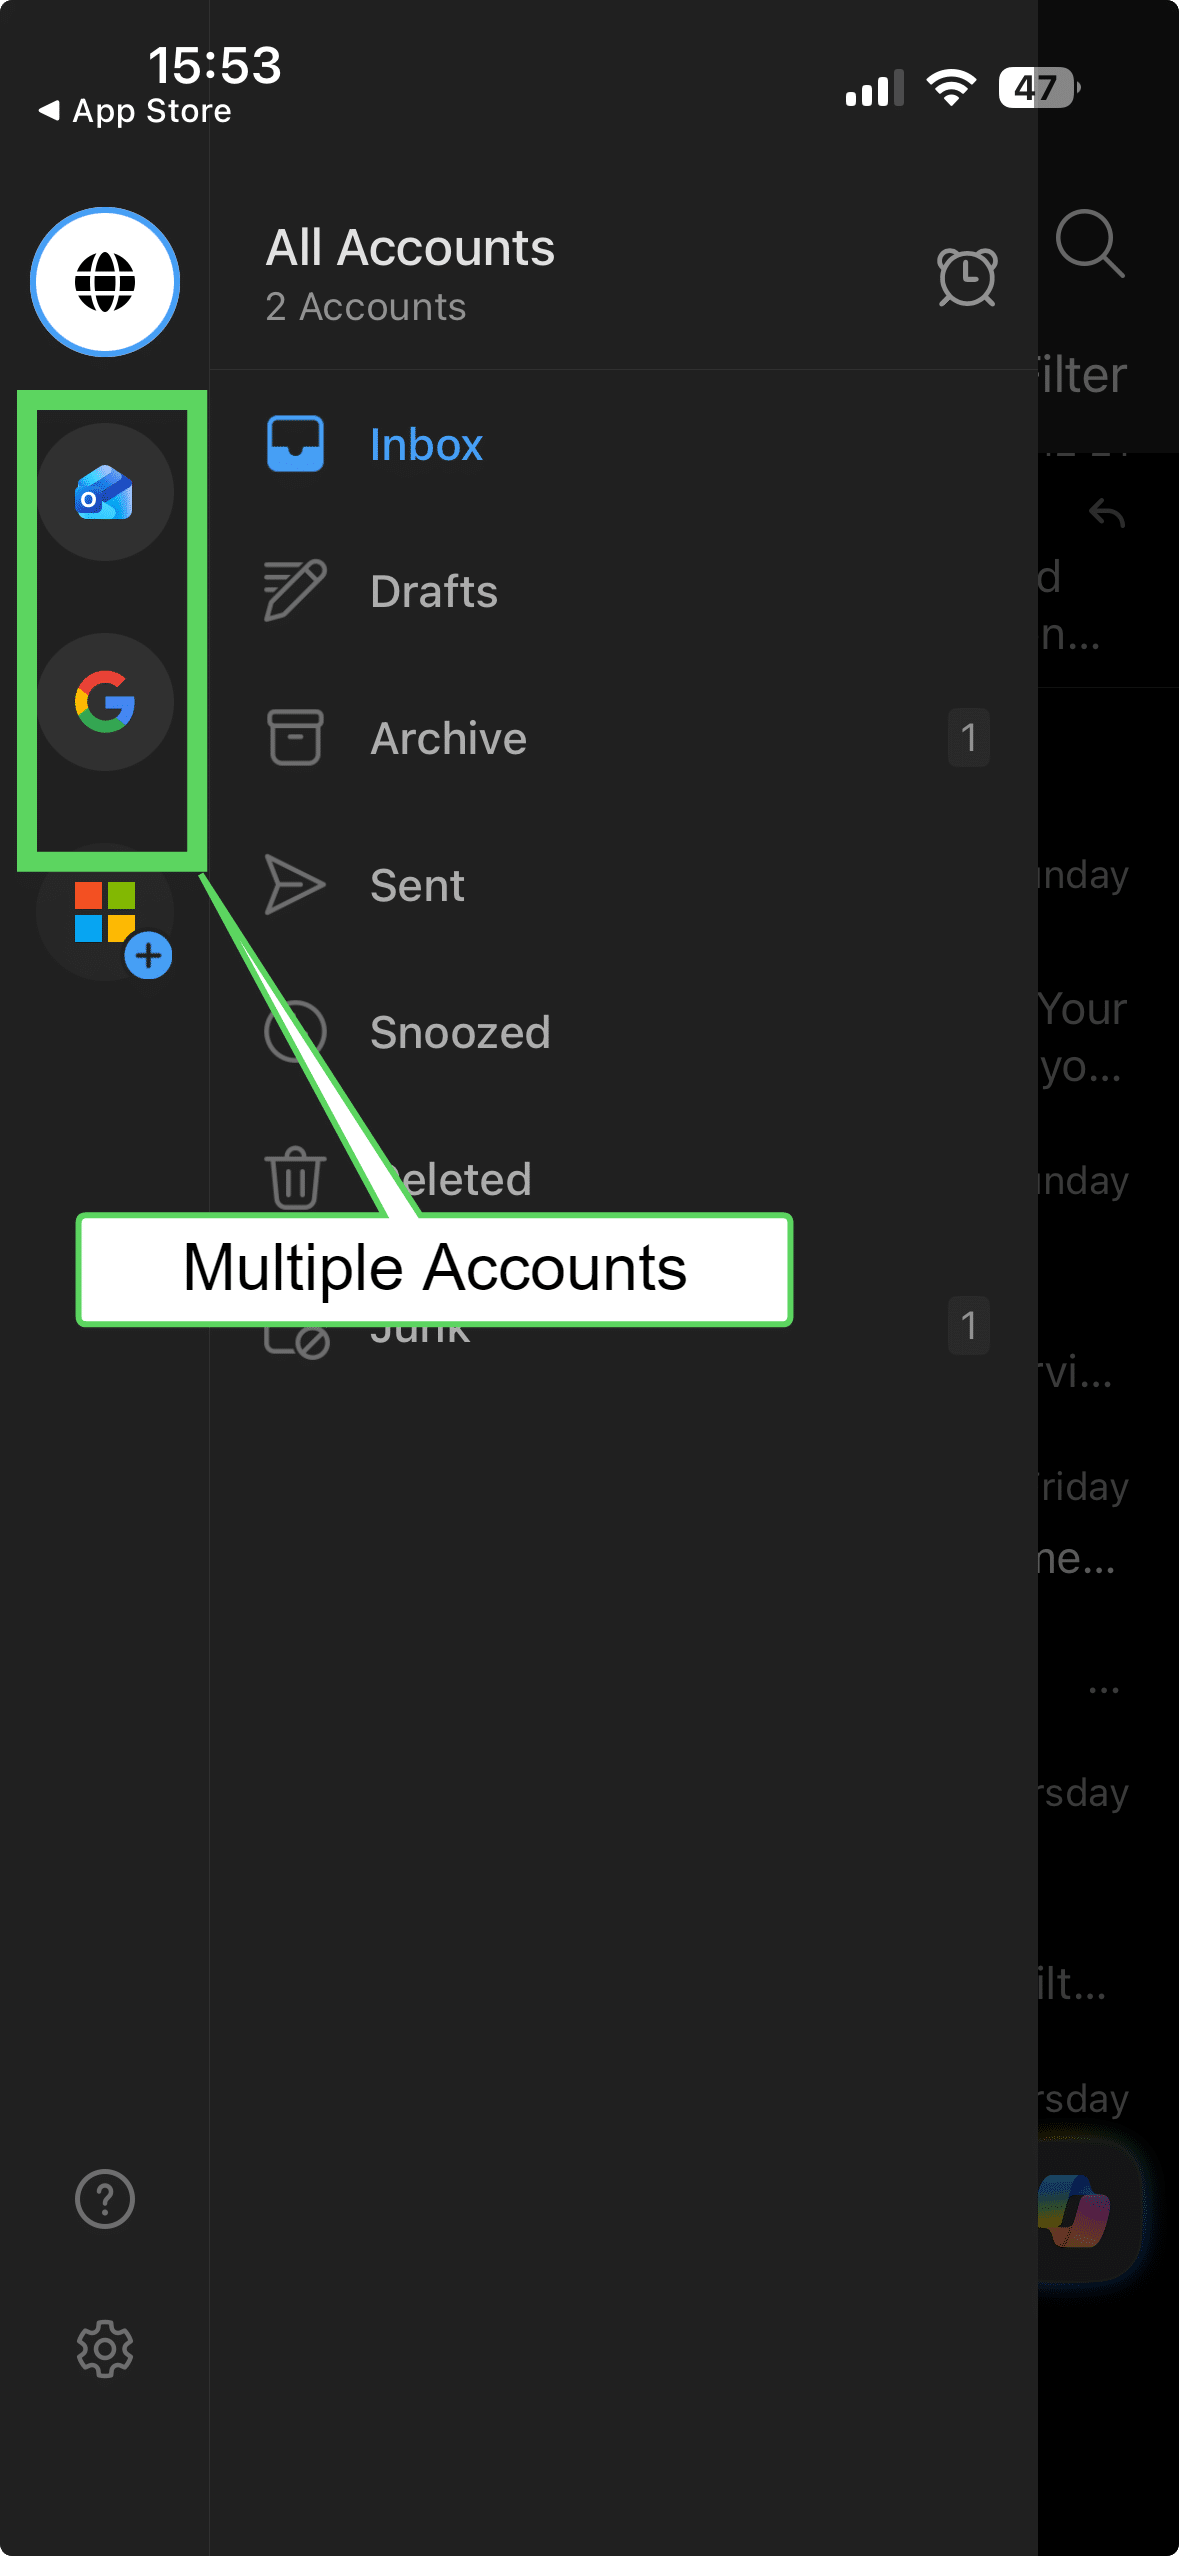
Multi-Account Support: You can add multiple accounts (e.g., Gmail, Yahoo, etc.) within the same app.
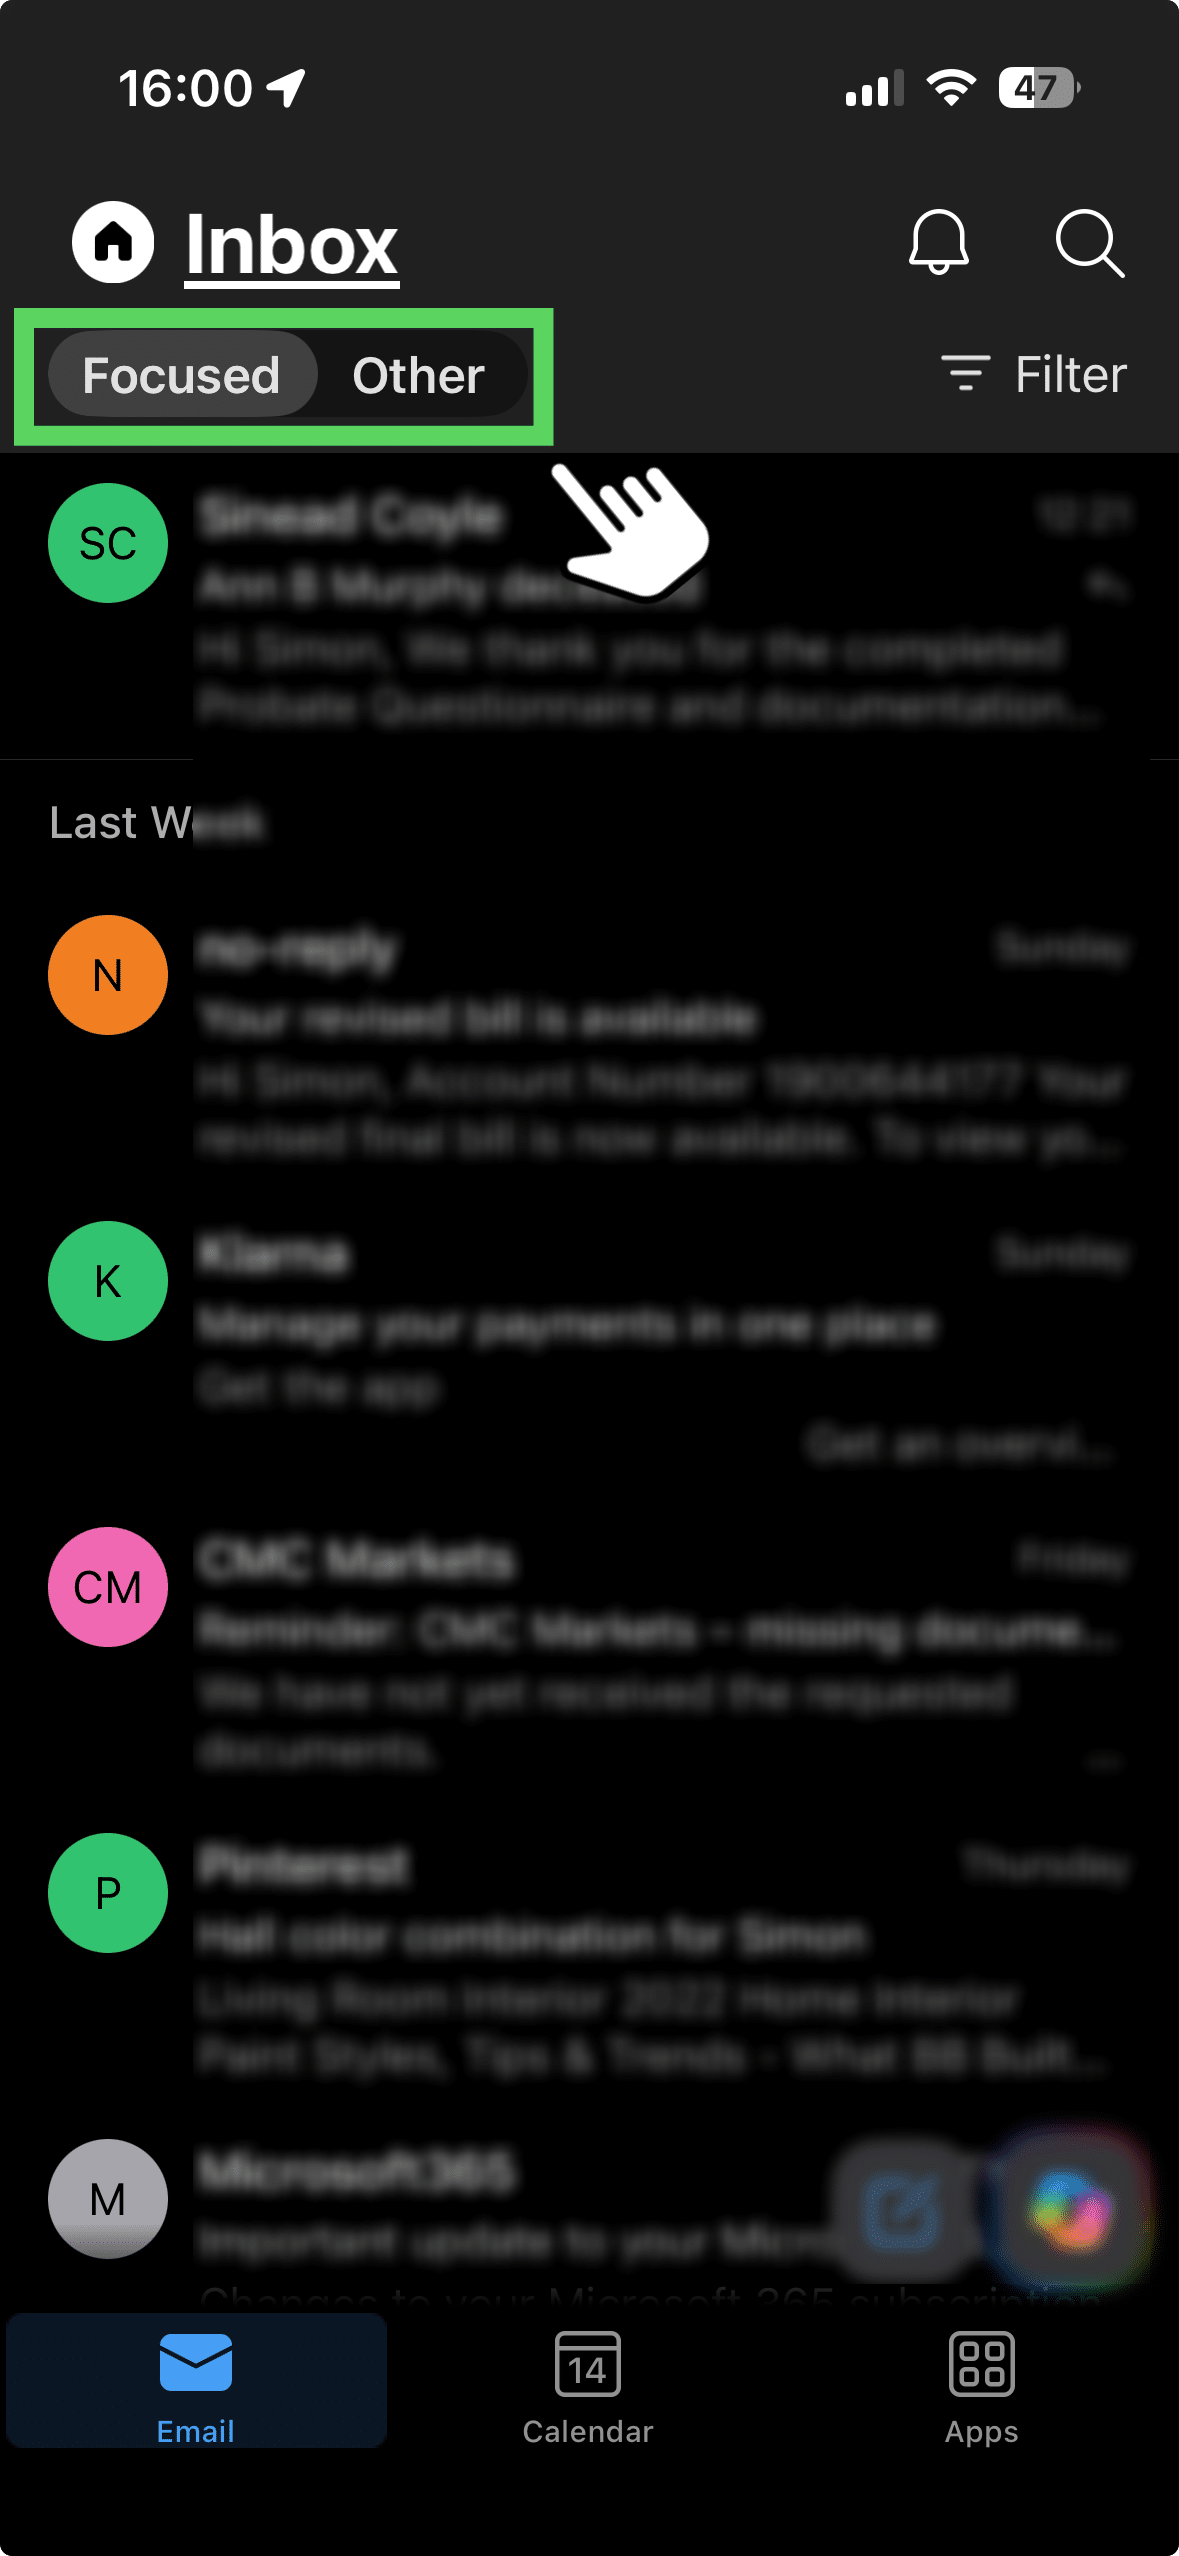
Focused Inbox: The app automatically sorts your most important emails into a "Focused" tab.
Integrated Calendar: A calendar is built directly into the bottom navigation bar.
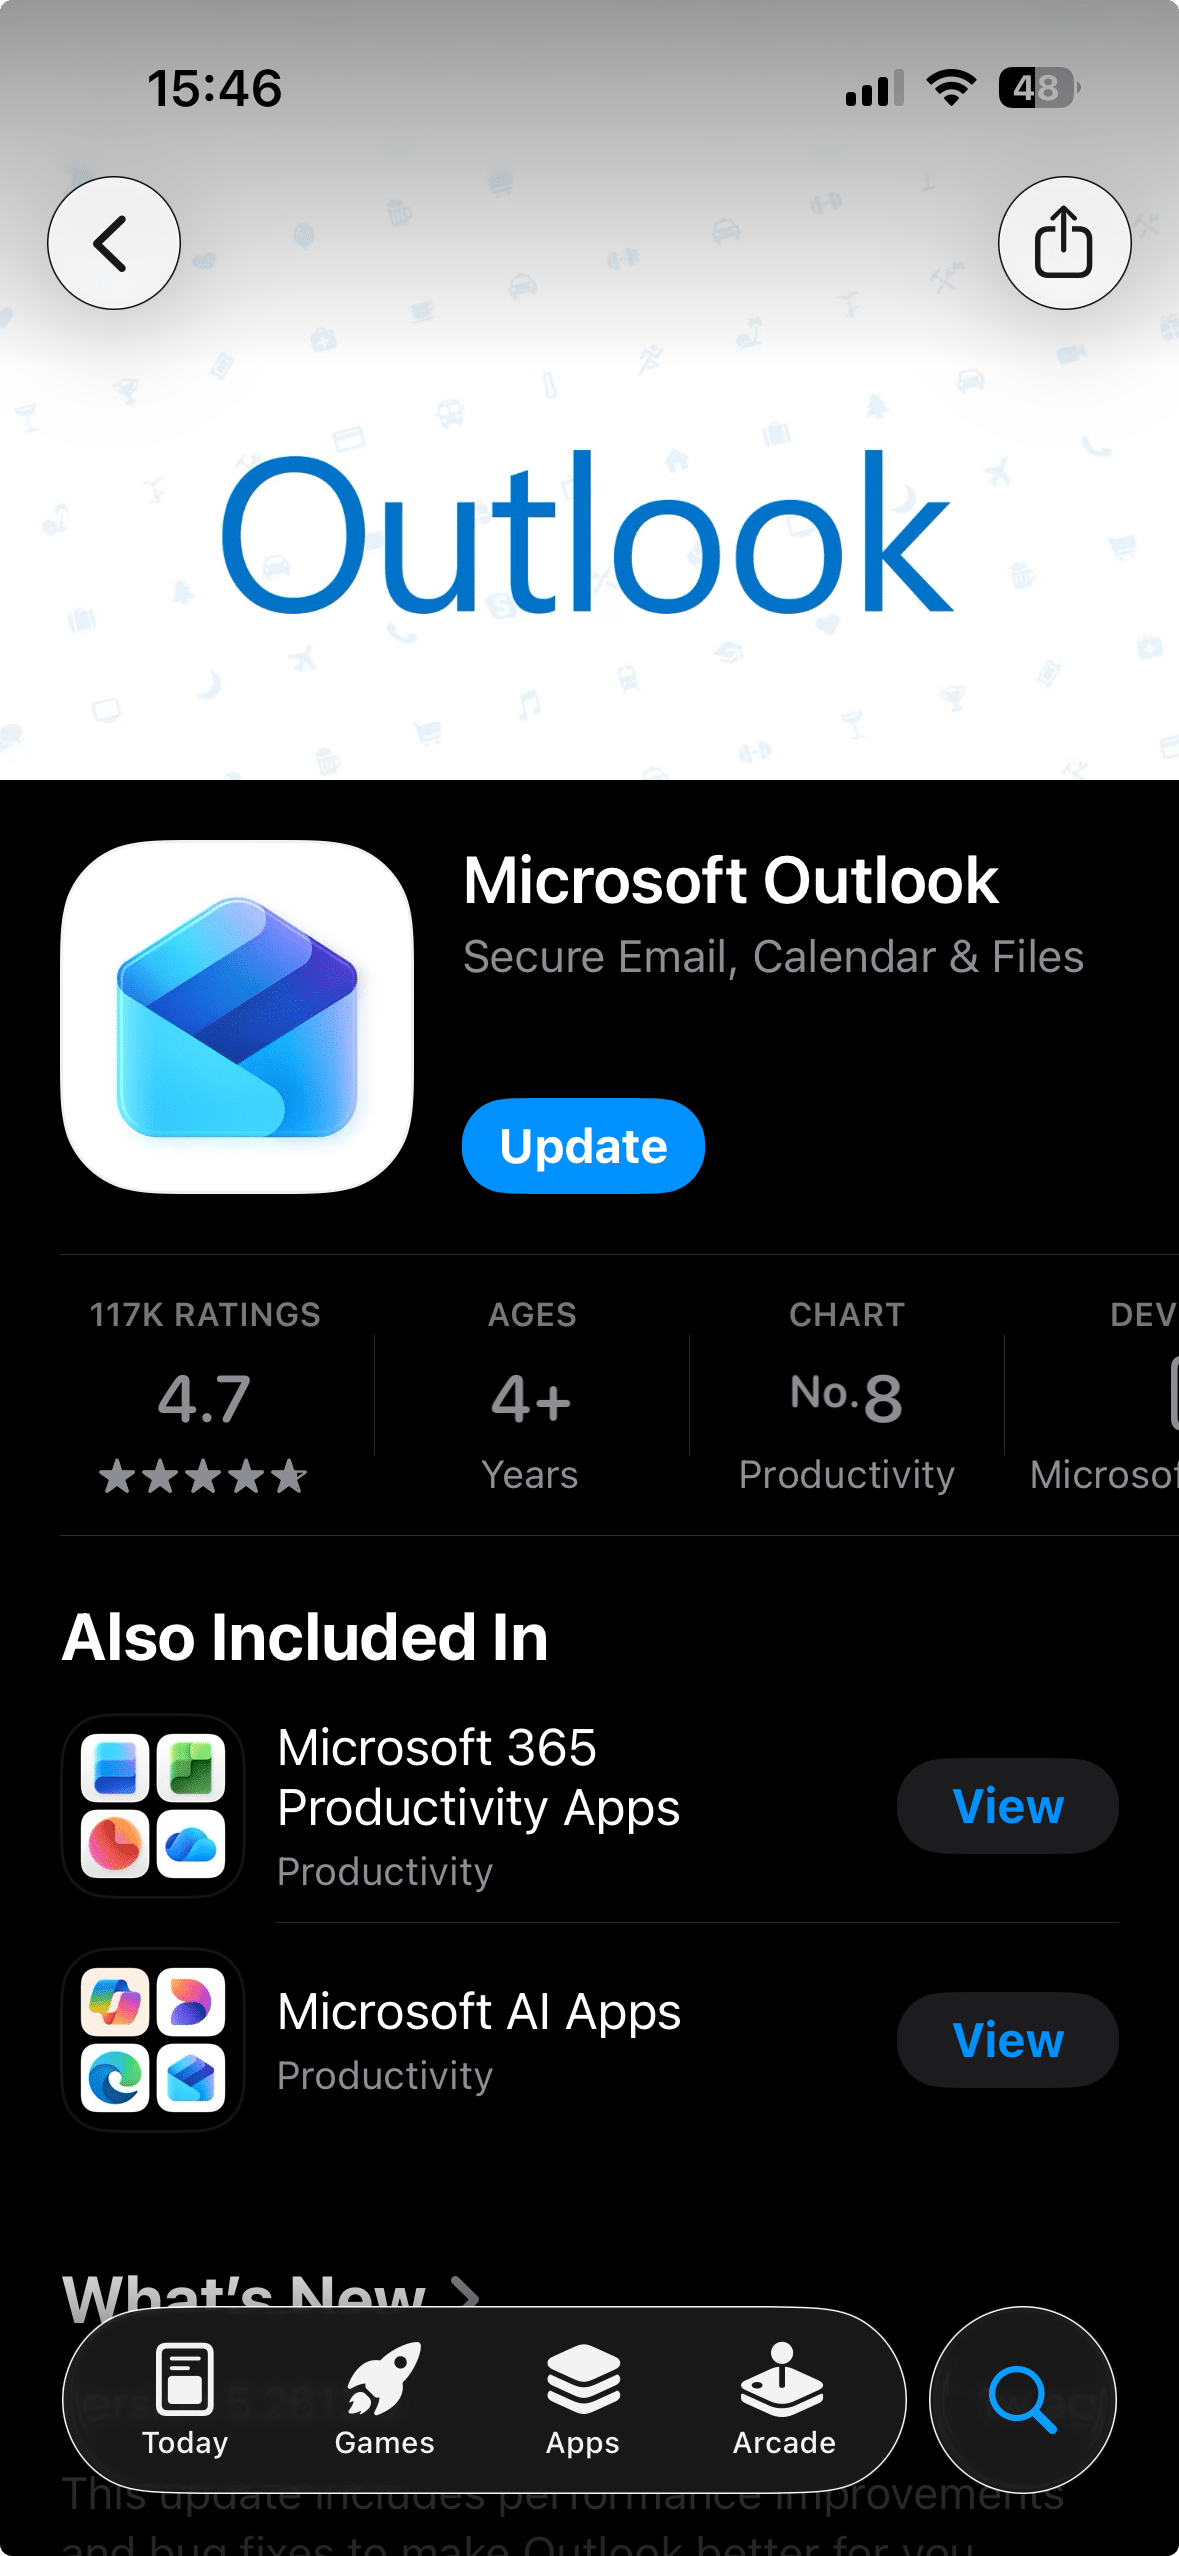
3. Account Sign In
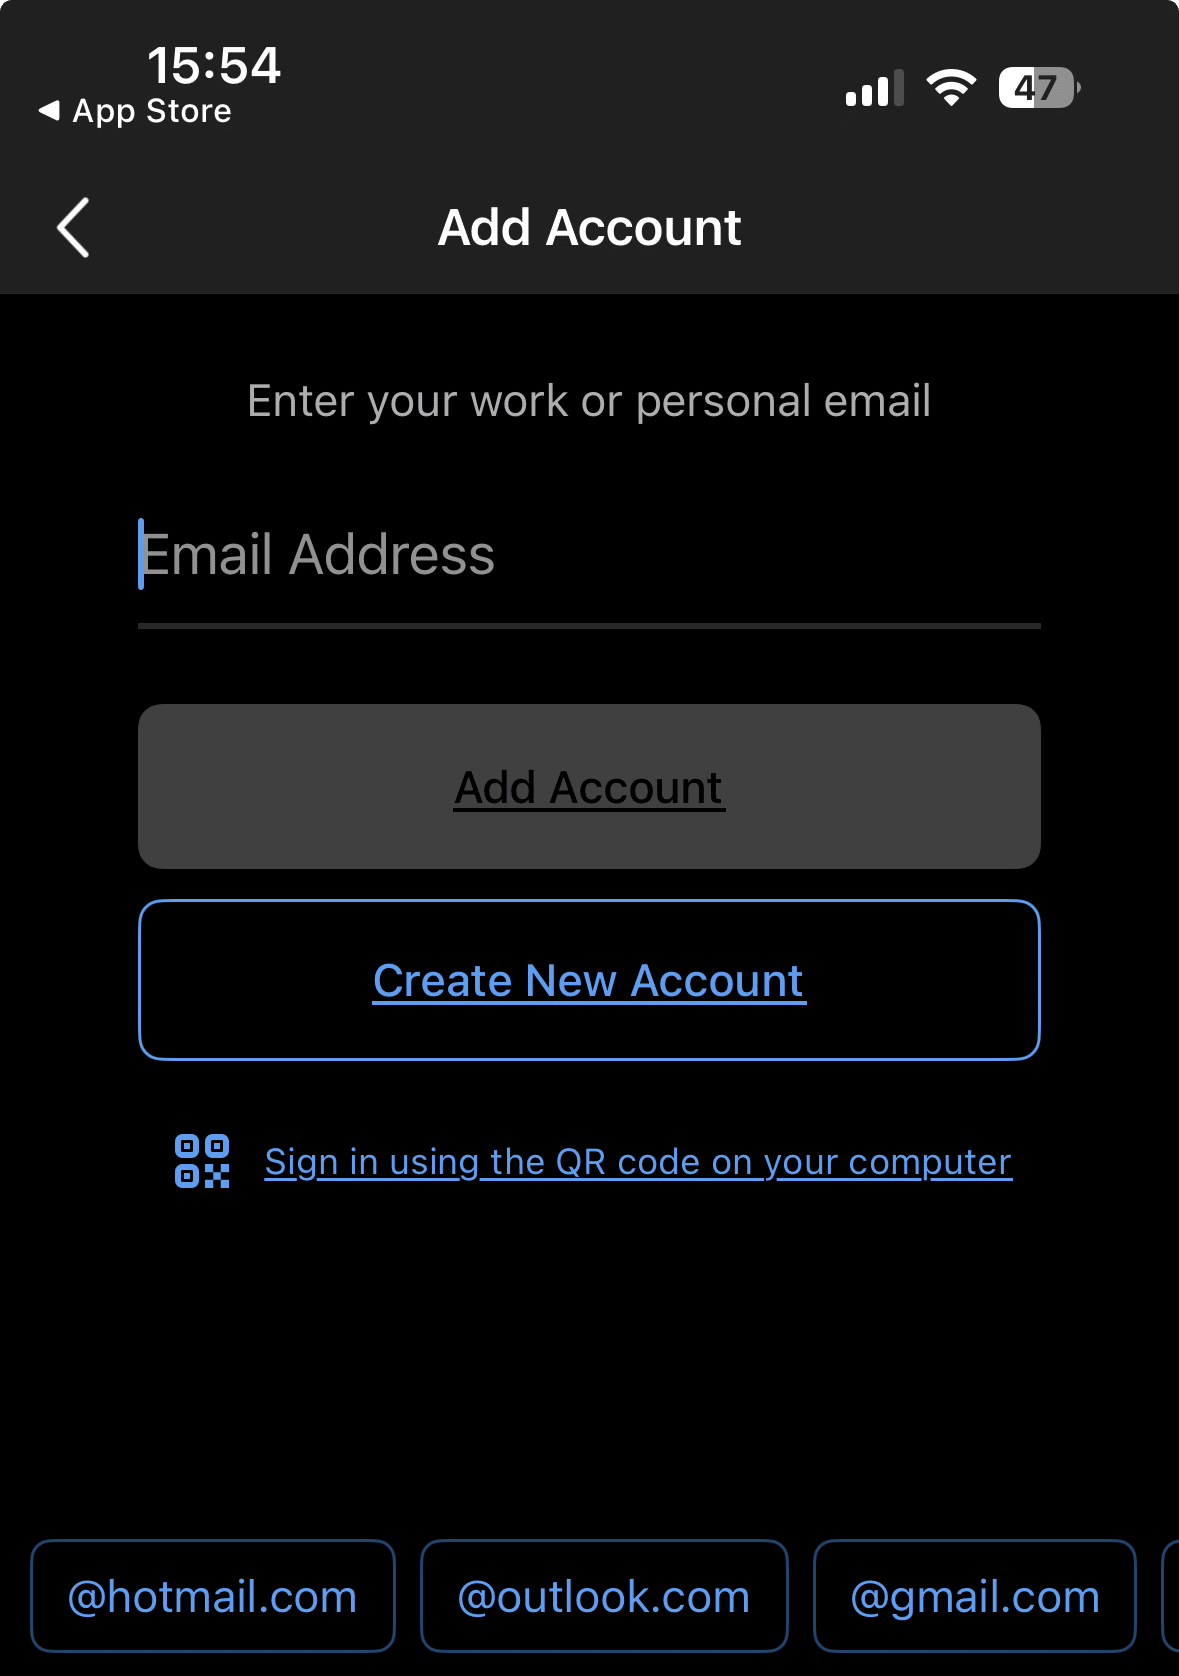
Once you’ve downloaded and opened the app, the first screen will ask you to Add Account.
Automatic Detection: If you already have an email account synced to your phone’s system settings, Outlook might suggest that email address immediately.
Manual Entry: You’ll type in your email address. Outlook supports Office 365, Gmail, Yahoo, iCloud, and standard IMAP accounts.
4. Authentication
Depending on your email provider, a browser window or a popup will appear:
Password: You’ll enter your password.
MFA/2FA: If you have Two-Factor Authentication enabled, you’ll be prompted to approve the sign-in via an authenticator app, a text code, or a notification.
Permissions: You’ll likely see a screen asking you to allow Outlook to access your mail, contacts, and calendar. You need to hit "Yes" or "Allow" for the app to function.
5. Syncing
Once authenticated, the app starts "fetching" your data.
Email: Your most recent conversations will appear first.
Calendar: Your appointments will populate in the calendar tab.
Contacts: If you granted permission, your cloud contacts will become searchable within the app.
6. Personalisation
Before you get to your inbox, the app will usually ask you two things:
Notifications: It will ask for permission to send you alerts. You can choose to see all alerts, or only "Focused" inbox alerts.
Add Another Account: It will ask if you want to add a second email address immediately. You can just tap "Maybe Later."
7. Focused Inbox
By default, Outlook will sort your mail into two tabs:
Focused: For your important, person-to-person emails.
Other: For newsletters, receipts, and automated notifications.